Introduction
This document describes how to configure and set a Network File System (NFS) share folder to be used as Cisco Meeting Server (CMS) recorder storage.
Contributed by Octavio Miralrio, Cisco TAC Engineer.
Prerequisites
Requirements
Cisco recomends that you have knowledge of these topics:
- Recorder service configured on CMS
- Windows server
Components Used
The information on this document is based on these software and hardware versions:
- CMS version 2.3
- Windows server 2012 R2
The information in this document was created from the devices in a specific lab environment. All of the devices used in this document started with a cleared (default) configuration. If your network is live, ensure that you understand the potential impact of any command.
Configure
Network Diagram
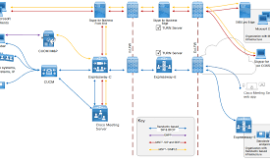
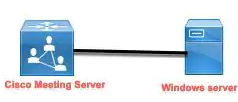
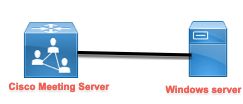
The image provides an example of a network diagram;
Configurations
Step 1. Add a second hard disk to the server.
- Based on the hardware type used, add a second hard drive to the Windows server, for example a second hard drive of 120 GB.
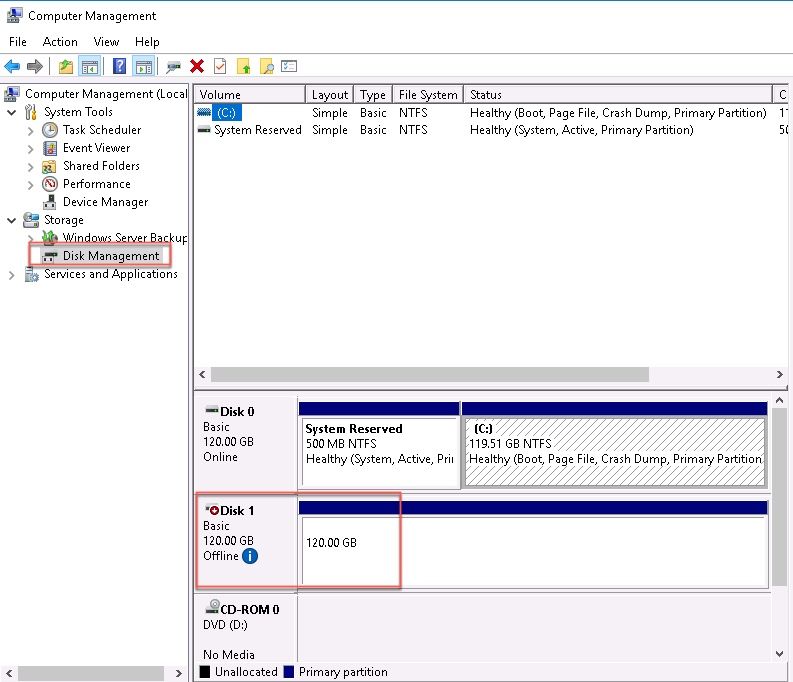
- Open the Windows server interface and navigate to Server Manager > Tools > Computer Management.
- In the Computer Management select the option Disk Management in the left panel.
- The right panel shows the available volumes in the Windows server.
- The new volume shows a red arrow, it means the volume is off-line, as shown in the image:
- Right click on the new disk and select Online.
- After the disk is online, the red arrow disappears and the disk is now ready to be formatted as a new volume.
Step 2. Format the disk as new volume.
- Right click in the blank side and select New simple volume.
- Follow the wizard, most of the settings can be left as default.
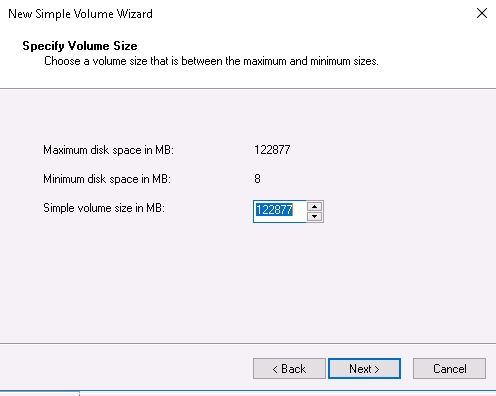
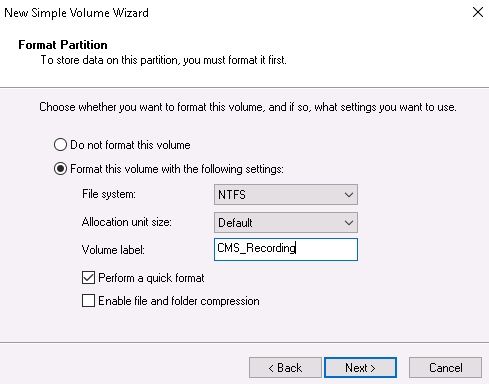
- Specify the volume size, select the size in case not all the size is used for the volume, default is the maximum size in this case 120GB, as shown in the image:
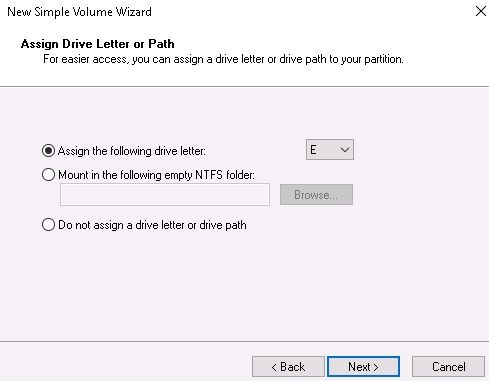
- Assign the drive letter, select the letter for the device, in this case E, as shown in the image:
- Change the name of the volume by something friendly, as shown in the image:
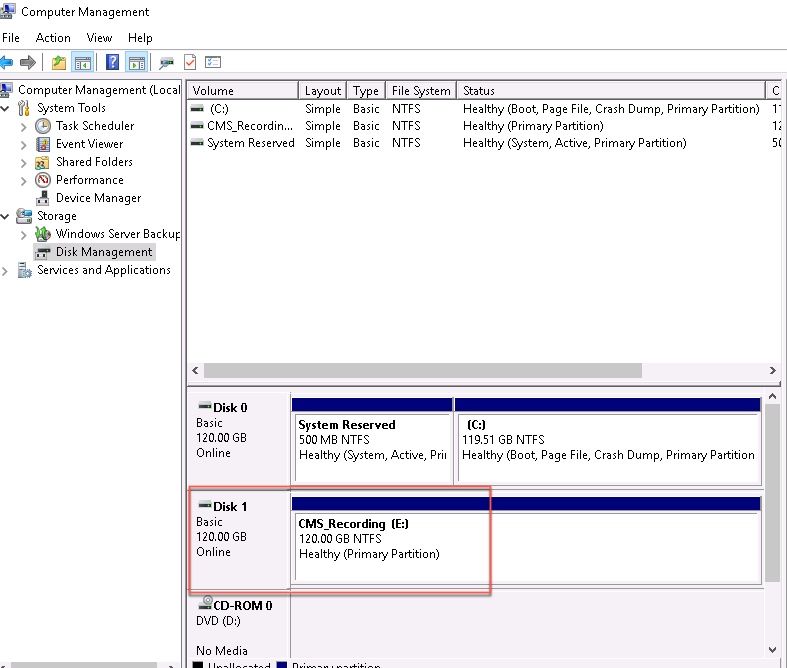
- Once the Wizard finishes, the new volume is ready to be used, as shown in the image:
Step 3. Install NFS Role in Windows server.
- Open the Server Manager on Windows server interface.
- Navigate to Manage > Add Roles and Features.
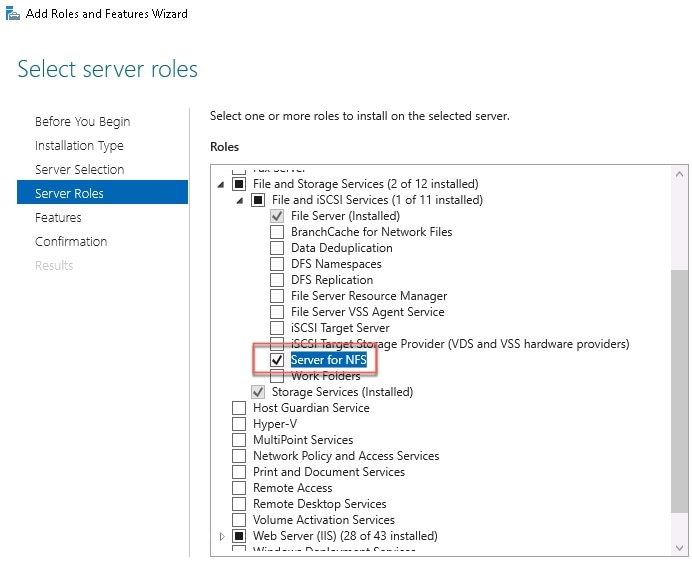
- In the Select Server roles page, expand the File and Storage Services tree.
- In case they are not installed, check the boxes File Server, Server for NFS and Storage Services, as shown in the image:
- Continue and finish the installation.
- Once the wizard finishes, select the flag in the right top of the Server Manager.
- Ensure no more activities are required, you must see Installation succeeded, as shown in the image:

Step 4. Convert the new volume into NFS system.
- Open the Server Manager and select File and Storage Services.
- Select Shares and then Task > New Share, as shown in the image:

- Select NFS Share – Quick.
- Select Next.
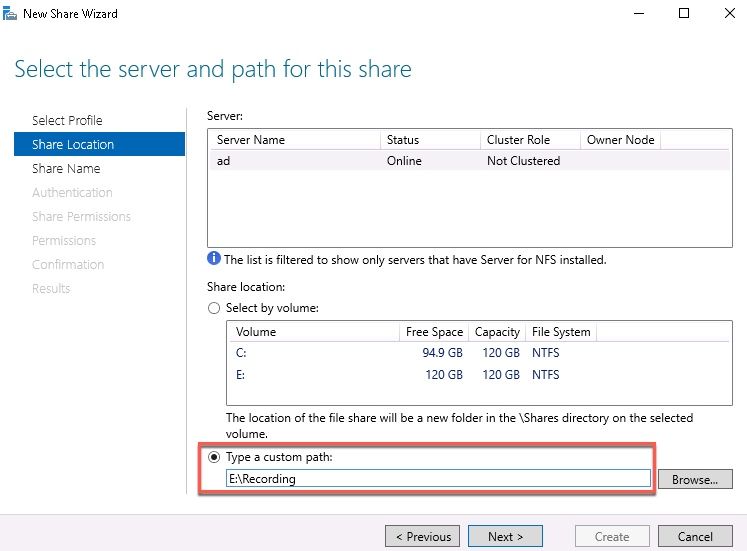
- Select Type a custom path.
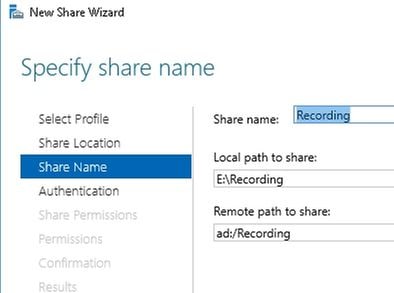
- Type the path to store the recordings, as shown in the image:
- Select Next.
- Enter the information in the Share name field. This name is used to configure the recorder in CMS.
- Ensure none of the Kerberos checkboxes is selected.
- Select Ok when the system warns you the directory is created.
- Check the next boxes, as shown in the image:
-
- No server authentication
- Enable unmapped user access
- Allow unmapped user Unix access
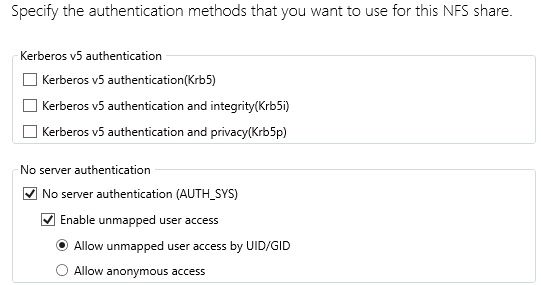
- Select Next.
- In the Share permissions page, select Add.
Note: The default permission is Read-Only for all machines. The recorder must have Read-Write access, so you can change the default for All Machines, or add specific rules for the recorder. The best practice would be to disable access to All Machines by Add a Host, this is the recorder IP address.
- On Language encoding, select ANSI.
- On Share Permissions, select Read/Write.
- Select Add.
- Select All Machines.
- On Language encoding, select ANSI.
- On Share Permissions, select No access.
- Select Add.
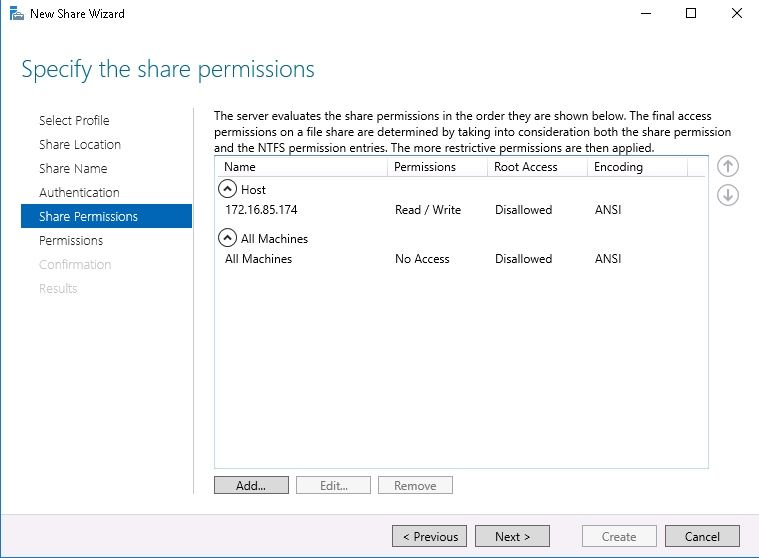
- Select Next.
- In the next page select Next.
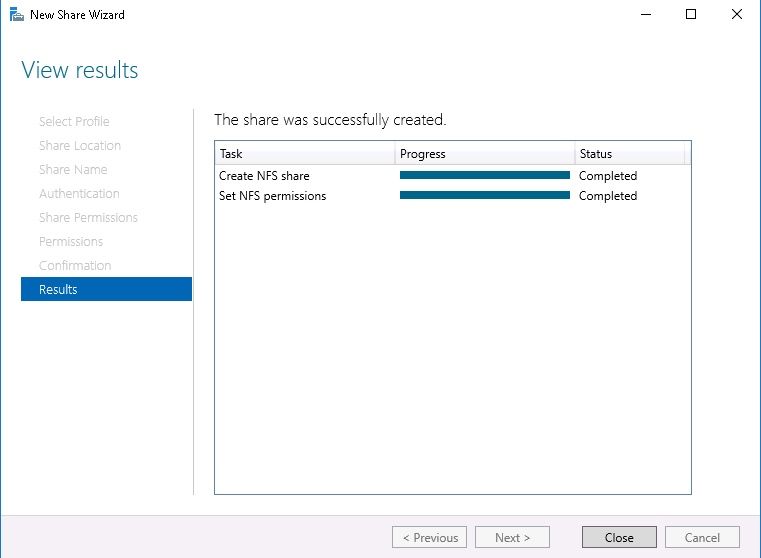
- Ensure the information is correct and select Create.
- Once the configuration finishes, select Close.
Step 5. Configure the security settings on NFS folder.
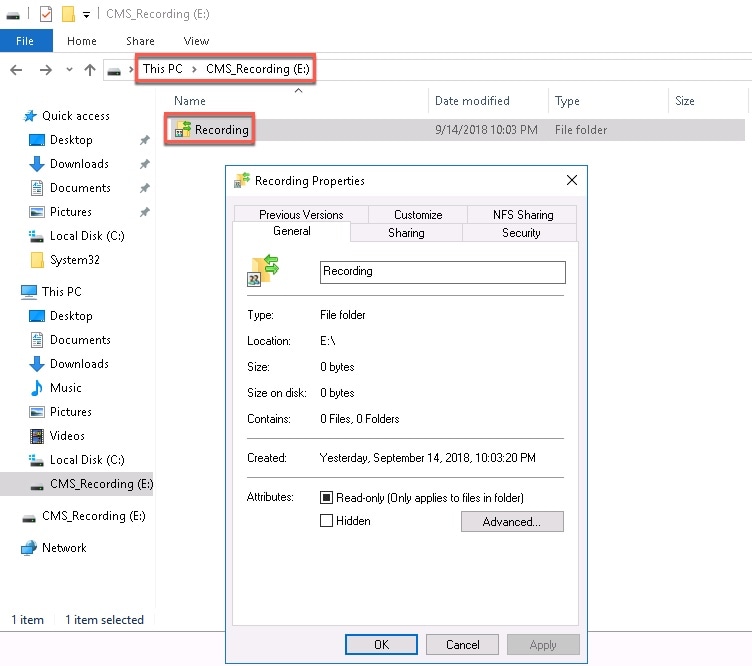
- On Windows server, navigate to the folder location, PC > Disk E > Recording.
- Right click on the folder and select Properties, as shown in the image:
- Select the Security tab.
- Select Edit.
- Select Add.
- Type the word Everyone and select Check Names, as shown in the image:
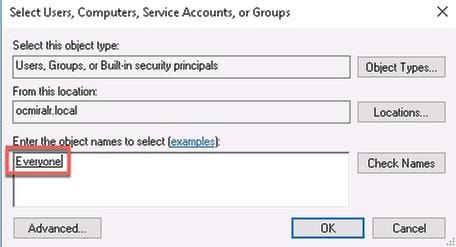
- Select Ok.
- Select the Permissions tab.
- Ensure the Allow permission is checked in Full Control for the Everyone group, as shown in the image:
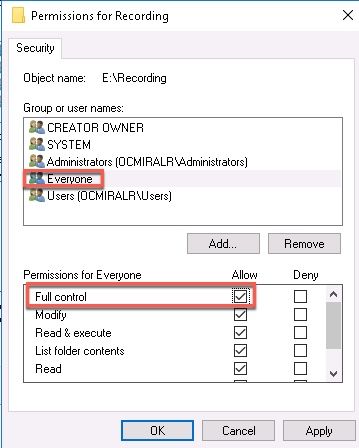
- Select Ok.
- Select Ok in order to close the Properties tab.
Verify
Use this section to confirm that your configuration works properly.
- Recorder service must be configured previously.
- Open the CMS Command Line Interface (CLI).
- Run the command recorder nfs <hostname/IP>:<directory>.
- Use the values of the NFS server and the name of the directory configured previously.
- For example: recorder nfs 10.1.1.1:Recording.
- Restart the recorder, run the command recorder restart.
- Run the command recorder in order to validate the configuration, as shown in the image:

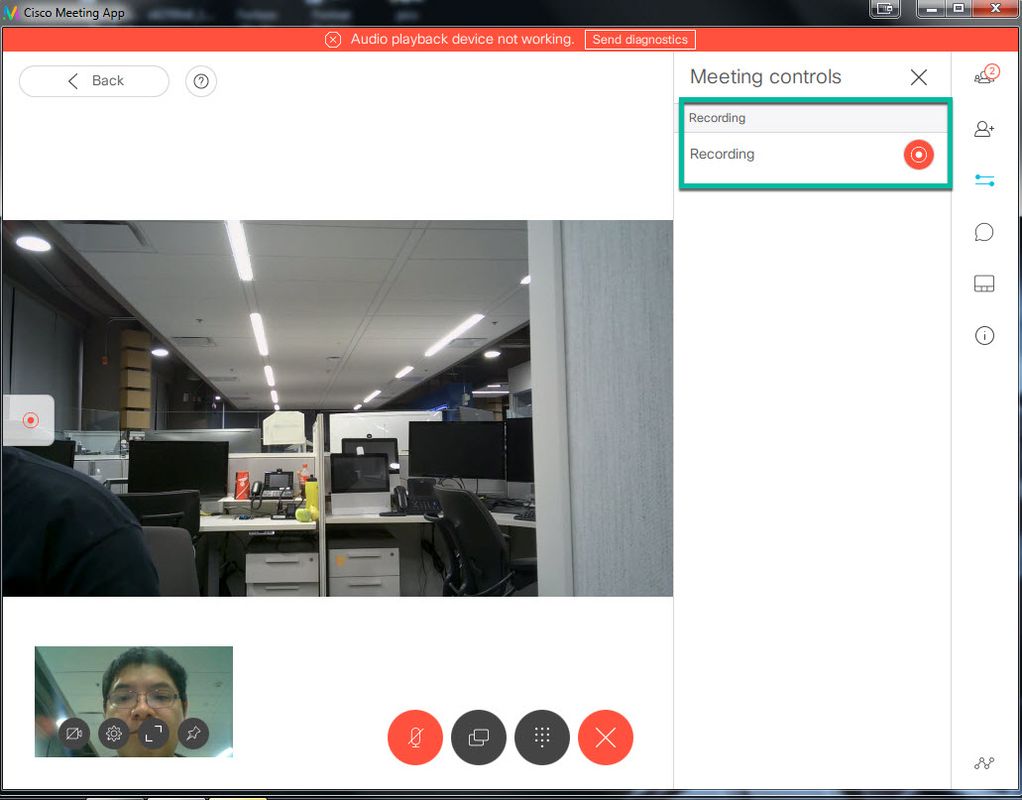
- Log in to the CMS with Cisco Meeting App (CMA).
- Start to record the meeting.
Note: For the first 5 seconds after recording is started, the call is not recorded. This is intentional and is to aid lipsync between video and audio in the recording. If you record for less than 5 seconds a small file is saved on the NFS, but it does not play back.
- Stop the record.
- Finish the call.
- Wait a couple of minutes for the file to be created.
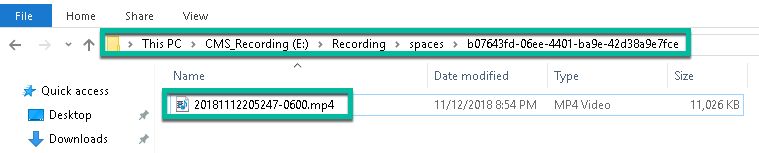
- Open the NFS folder in Windows server.
- Ensure the recorded file is in the recording folder, as shown in the image:
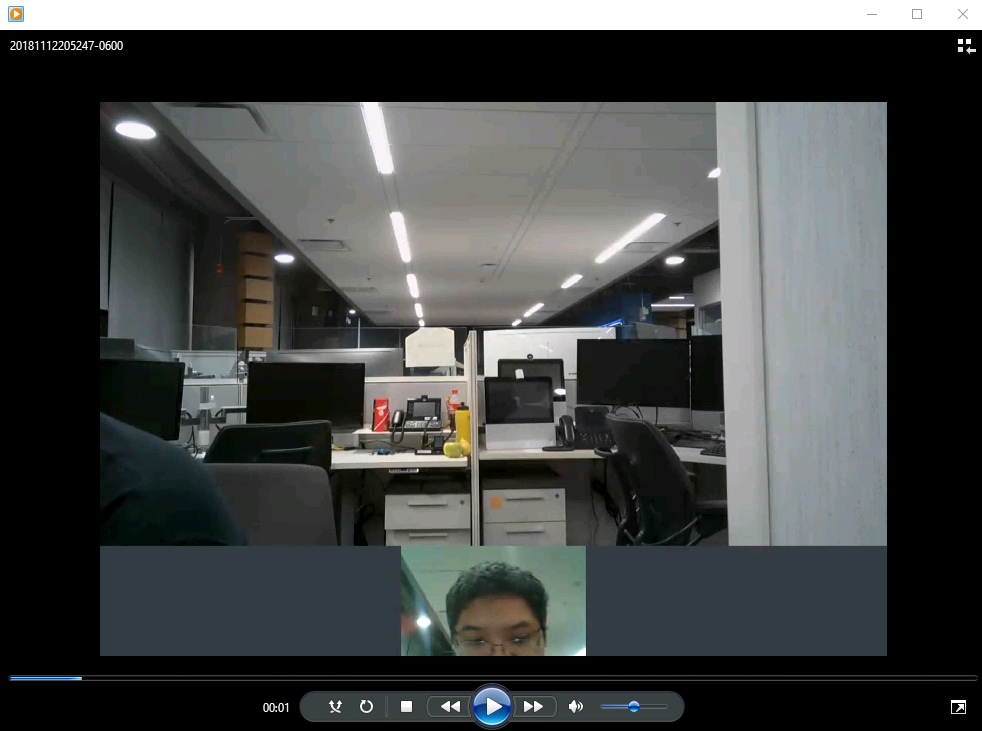
- Reproduce the video file with the a video reproductor.
- The video of the conference must be showed, as shown in the image:
Troubleshoot
There is currently no specific troubleshooting information available for this configuration.
Source: Configure NFS Share to Use as Storage for CMS Recorder