Introduction
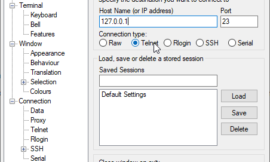
This document describes the procedure to integrate Cisco Unified Communication Manager (CUCM) with Cisco Unity Connection (CUC) with the use of Session Initiation Protocol (SIP). In this example, the SIP integration is non-secure.
Prerequisites
Requirements
Cisco recommends that you have knowledge of these topics:
- CUCM
- CUC
Components Used
The information in this document is based on these software and hardware versions:
- CUCM 8.x and higher
- CUC 8.x and higher
The information in this document was created from the devices in a specific lab environment. All of the devices used in this document started with a cleared (default) configuration. If your network is live, ensure that you understand the potential impact of any command.
Configure
Configuration on CUCM
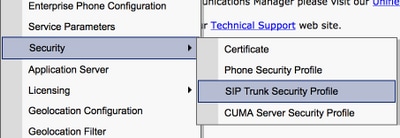
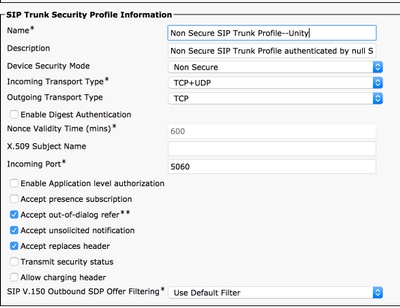
Step 1. On CUCM Admin page, navigate to System > Security > SIP Trunk Security Profile. Make a copy of the available profile. The default profile is Non-Secure SIP Trunk Profile. On the new profile, check these options; Accept out-of-dialog refer, Accept unsolicited notification and Accept replaces header.
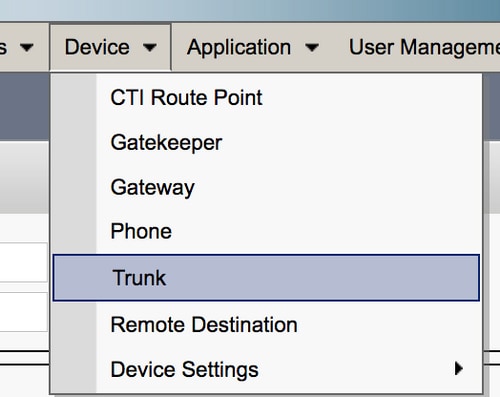
Step 2. In order to create a SIP trunk, navigate to Device > Trunk and select Add New.
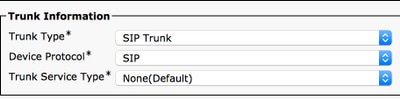
Step 3. Select the Type as SIP trunk. Rest of the fields auto-populate.
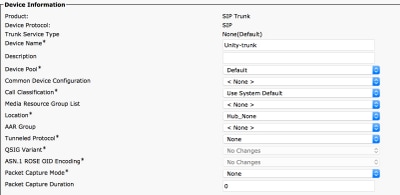
Step 4. Provide a name for the Trunk and assign an appropriate Device Pool.
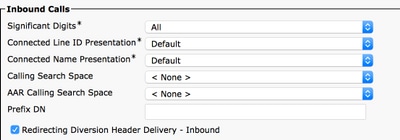
Step 5. For the Inbound Calls settings, select the appropriate CSS which has access to the phones. Also, check the box Redirecting Diversion Header Delivery-Inbound.
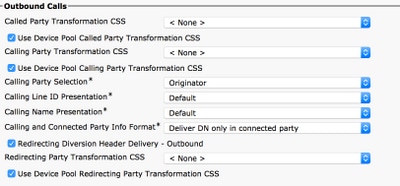
Step 6. For the Outbound Call settings, check the box Redirecting Diversion Header Delivery – Outbound.
Step 7. In the Destination Address field, enter the IP address of the Unity Connection server to which the CUCM connects.

Note: For a Unity Connection cluster (Publisher and Subscriber), create 2 SIP trunks. Each SIP trunk points to one Unity Connection server.
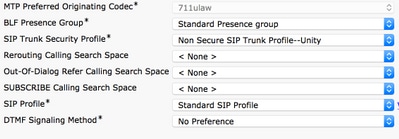
Step 8. Select the SIP trunk security profile from the drop down menu. Choose the new Security Profile created in Step 1. Select the Rerouting CSS. This CSS comes into picture for calls transferred back to the CUCM from the Unity Connection and must have access to the user phones. For SIP Profile, select the Standard SIP Profile from the drop down.
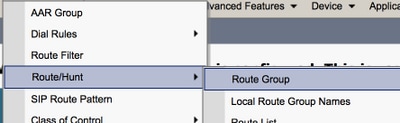
Step 9. Create a Route Group. Navigate to Call Routing > Route/Hunt > Route Group. Add a new Route Group and give it an appropriate name. Select the SIP Trunk created in Step 2 and click on Add to Route Group. Hit Save.
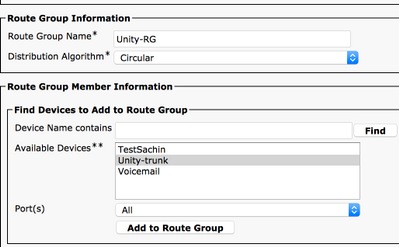
Note: In case of Unity Connection cluster, you can add a separate Route Group for the second SIP Trunk created. Alternatively, you can choose to add the second SIP trunk to the same Route Group. The order is selected from the Distribution Algorithm drop down menu: Circular, Round Robin, etc.
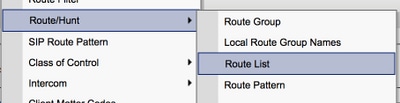
Step 10. Create a Route List. Navigate to Call Routing > Route/Hunt > Route List. Click on Add new and give an appropriate name to the Route List. Select the CUCM Group from the drop down menu which contains the CUCM servers to which the CUC server establishes a SIP trunk connection.

Step 11. Click Save. Post this there is an option to select a Route group for this Route List. Click on Add Route Group and select the Route group you created in Step 9.

Note: If you create multiple Route Group, each for one trunk, select all Route Groups and arrange them in order of preference. CUCM selects the route group at the top first to route the call.
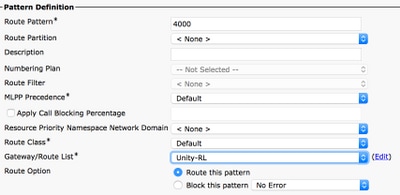
Step 12. Add a Route Pattern. Navigate to Call routing > Route/Hunt > Route Pattern. Click on add new and provide the voicemail pilot number for unity connection. This is the number users use to call into the Unity connection server. Select the Route List created in Step 10 from the drop down option Gateway/Route List.

Step 13. In order to add the Voicemail Pilot number, navigate to Advanced Features > Voicemail > Voicemail pilot.

Step 14. Click on Add new and provide the voicemail pilot number. This number must match the Route Pattern created in Step 12. You can choose to make this the Default voicemail pilot number for the entire CUCM cluster. In order to do this, check Make this the default voice mail pilot for the system.

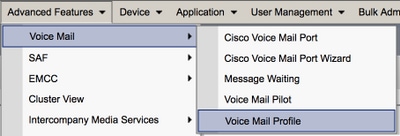
Step 15. Add a voicemail profile for this voicemail system. Navigate to Advanced Features > Voicemail > Voice mail profile.
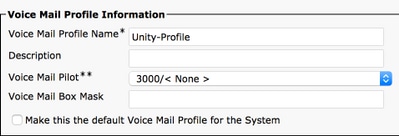
Step 16. Click on add new and provide an appropriate name. Choose the voice mail pilot created in Step 13. from the drop down. You can choose to make this the default voicemail profile for the system. In order to do this, check Make this the default voice mail profile for the system.
Configuration on Unity Connection
Step 1. Navigate to CUC Admin page and expand Telephony Integration. Select the first option, Phone System.
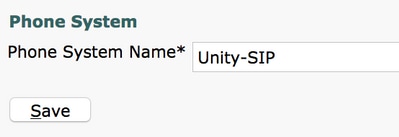
Step 2. Click on Add New and give the Phone System a name.
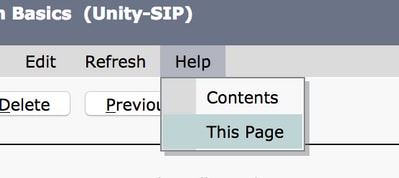
Step 3. The defaults are used on the Phone System Basics page. In order to view information about the additional configuration for the Phone System, navigate to Help > This page.
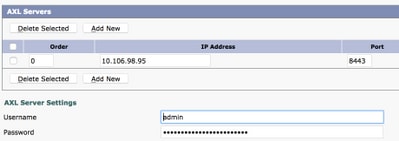
Step 4. [Optional] In order to import CUCM users to CUC, configure AXL servers on the Phone System. Navigate to Edit > Cisco Unified Communications Manager AXL server.
Step 5. Navigate back to the Phone System basic page. On the top right corner, select Add a Port Group from the related links menu.

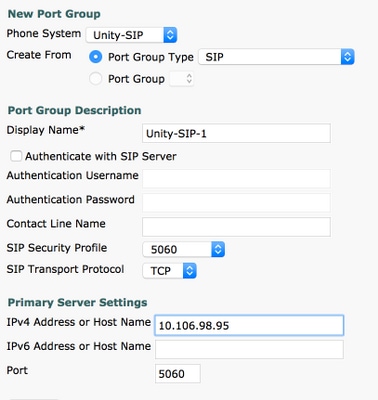
Step 6. Create a Port Group. Provide a Display Name for the Port Group. Change the Port Group type to SIP. Enter the FQDN/IP address of the CUCM server to which this SIP trunk registers to.
Step 7. Go to Related Links on the top right corner and select Add Ports.

Step 8. Enter the number of ports desired. Select the appropriate Phone System and Port Group name and hit save.
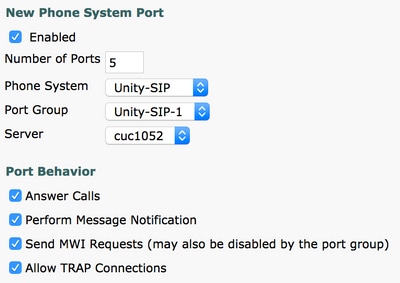
Note: From the Server drop down menu, select the Publisher CUC server and create ports. To add ports for the Subscriber CUC server, navigate to the same Port Group Unity-SIP-1 and choose Add Ports from the Related Links menu on the top right corner. On the New Phone System Port page, choose the Subscriber server from the Server drop down menu. Alternatively, create a new port group in the same Phone System with a different device name prefix for the Subscriber ports.
Step 9. Navigate back to Telephony Integration > Port Group and select the SIP Port group. Navigate to Edit > Server and add the additional CUCM servers in the same cluster for failover. Assign a preference with the help of Order number. Order 0 has highest preference followed by 1, 2 and so on. The ports register to the CUCM server with Order 0. If this server is not available, the ports register to the subsequent servers in the list.
Check the Reconnect to a Higher-Order Cisco Unified Communications Manager When Available for the ports to fall back to the higher order CUCM server once it becomes available. Otherwise, the ports remain registered to the lower preference server.
Verify
Use this section in order to confirm that your configuration works properly.
If the ports are unregistered,
Step 1. Check if the ports are successfully created on the Unity Connection. Nagivate to Telephony Integration > Ports.

Step 2. Navigate to Telephony Integration > Port Group. Select the SIP Port Group. In the Related Links drop-down list, select Check Telephony Configuration and select Go to confirm the phone system integration settings. If the test is not successful, the Task Execution Results displays one or more messages with troubleshoot steps. Correct the problem and test the connection again.
Troubleshoot
There is currently no specific troubleshooting information available for this configuration.
Source: Configuration Example for CUCM Non-Secure SCCP Integration with CUC