There are instances when an organization is using wireless LAN controllers and adds CISCO Prime Infrastructure to manage the entire network infrastructure at a later stage or vice versa. In such a scenario, it is necessary to add a Wireless LAN controller device to Cisco Prime Infrastructure.
Mobility is proving to be a very critical aspect of the modern workplace. Delivering pinpoint visibility into who, what, when, where, and how of the devices and users accessing the wireless infrastructure is the objective behind adding wireless controllers into Cisco Prime Infrastructure. Cisco Prime provides comprehensive coverage of enterprise mobility since it includes 802.11ac support, correlated wired-wireless client visibility; unified access infrastructure monitoring; spatial mapping; integrated security and policy application and troubleshooting with Cisco Identity Services Engine (ISE) integration; integrated location-based tracking of interferers, rogues, and Wi-Fi client reporting with Cisco Mobility Services Engine (MSE) and Cisco CleanAir® integration; RF prediction tools; and more.
Cisco prime simplifies the deployment of CISCO capabilities by making the design and fulfillment of Cisco differentiated services and features fast and efficient. It helps organizations get most from the intelligence built into your Cisco devices as quickly as possible with out-of-the-box support for technologies like Distributed Wireless with Converged Access, Intelligent WAN (IWAN), Application Visibility and Control (AVC), Zone-based firewall and Cisco TrustSec 6.4 Identity Based Networking Services.
Cisco Prime Infrastructure delivers unified assurance across the network and compute. This is achieved with its ability to track a user in the branch connecting via a wireless or wired device, all the way to a compute resource in the data center for fast onboarding, remediation, and troubleshooting.
Cisco prime infrastructure helps in wireless management by simplifying client troubleshooting enabling network operators to easily identify the root cause of client issues in a graphical format. It helps in quick problem identification and resolution. Rogue device management is simplified with enhancements to Switch Port Tracing (SPT).
Prime Infrastructure covers almost all categories of network devices on Routing, Switching, IoT Device, Wireless Device with access points, and Mobility Express Mode.
In short, Cisco Prime Infrastructure is a network management tool that supports lifecycle management of your entire network infrastructure from one graphical interface. Prime Infrastructure provides network administrators with a single solution for provisioning, monitoring, optimizing, and troubleshooting both wired and wireless devices. Robust graphical interfaces make device deployments and operations simple and cost-effective.
For adding wireless controllers, please refer to server sizing matrix and Cisco Prime Infrastructure form factors:
An express server can support max 5 controllers, Express-Plus- max 25, Standard – Max 500, Professional – Max 800, and Hardware Appliance (Gen2) – max 1000. Please refer to Cisco Prime Infrastructure 3.0 Quick Start Guide documentation here.
CISCO Prime Infrastructure covers the following configurations related to controllers:
Add, remove, and reboot selected controllers
Summary of all controllers in Prime Infrastructure database
Download software from Prime Infrastructure server to selected controllers
Save the current configuration to nonvolatile (flash) memory on selected controllers
View audit reports for selected controllers
The above-mentioned parameters are available for third-party controllers and access points too.
In this article, we will focus on adding “Wireless LAN Controller to Cisco Prime Infrastructure”.
We will have a look at the typical step-by-step configuration procedure to achieve this objective.
Step 1: Configuring WLC for SNMP & also give Prime Infrastructure details.

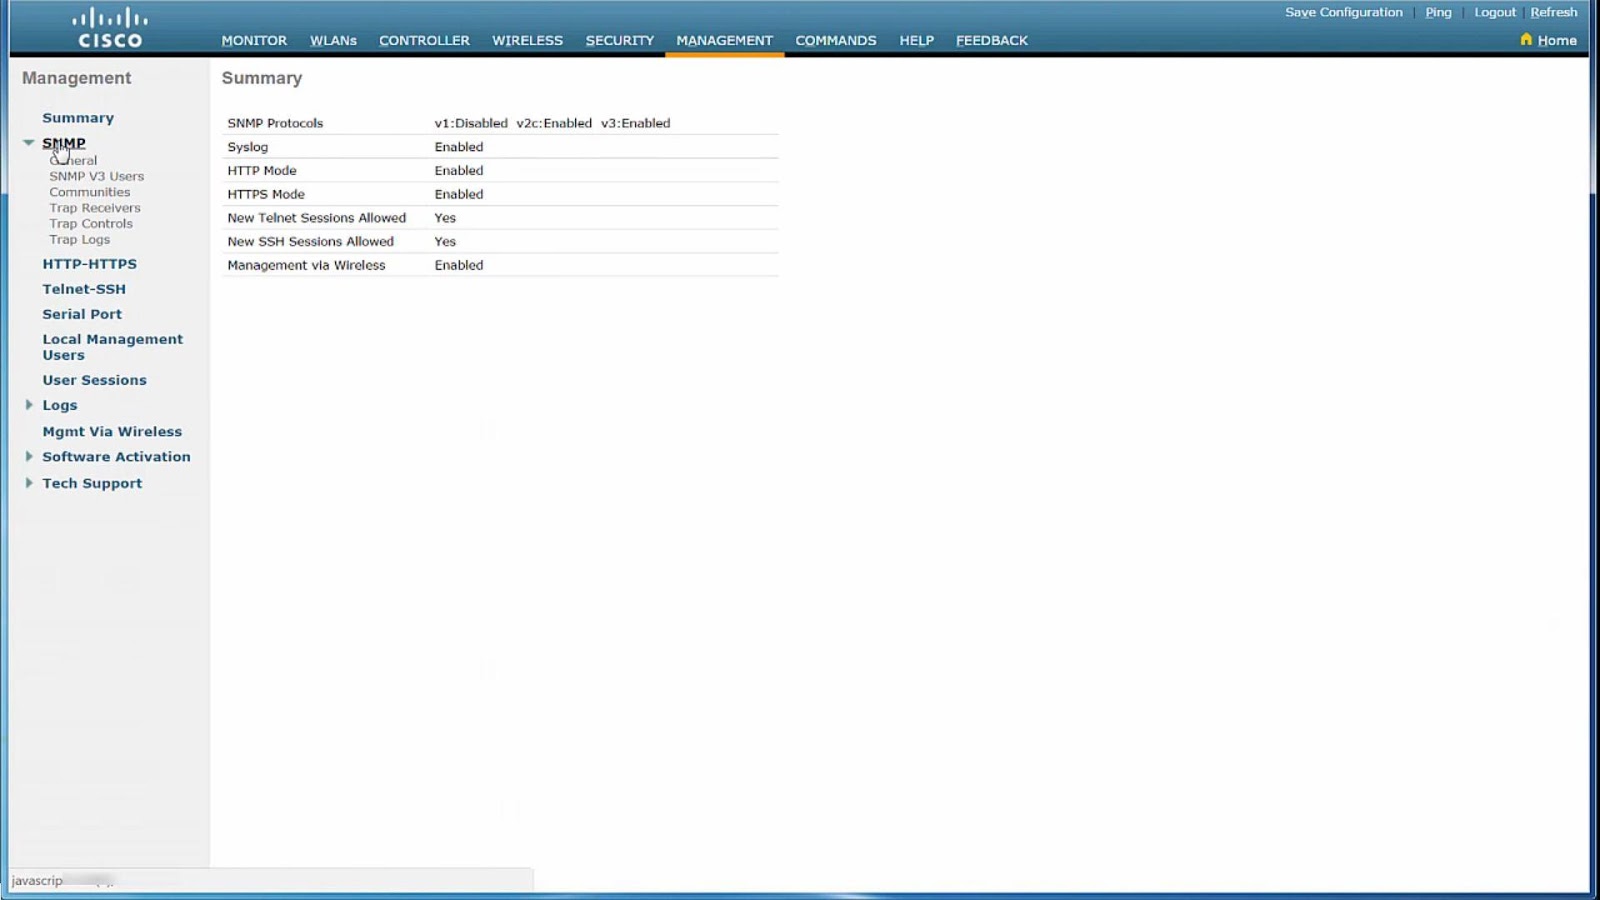
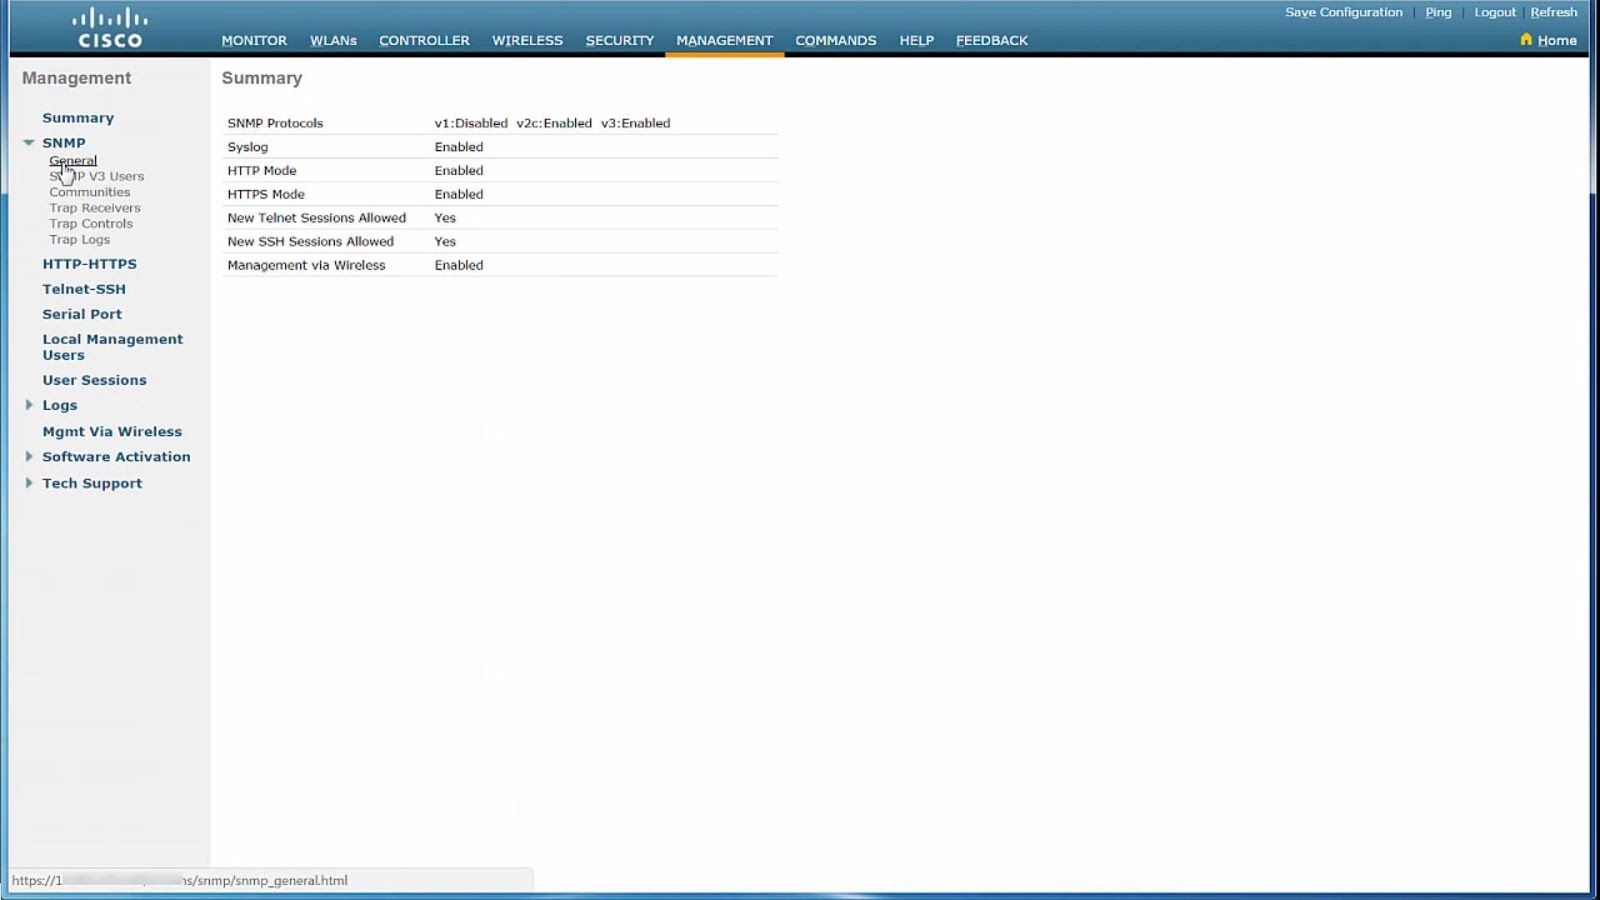
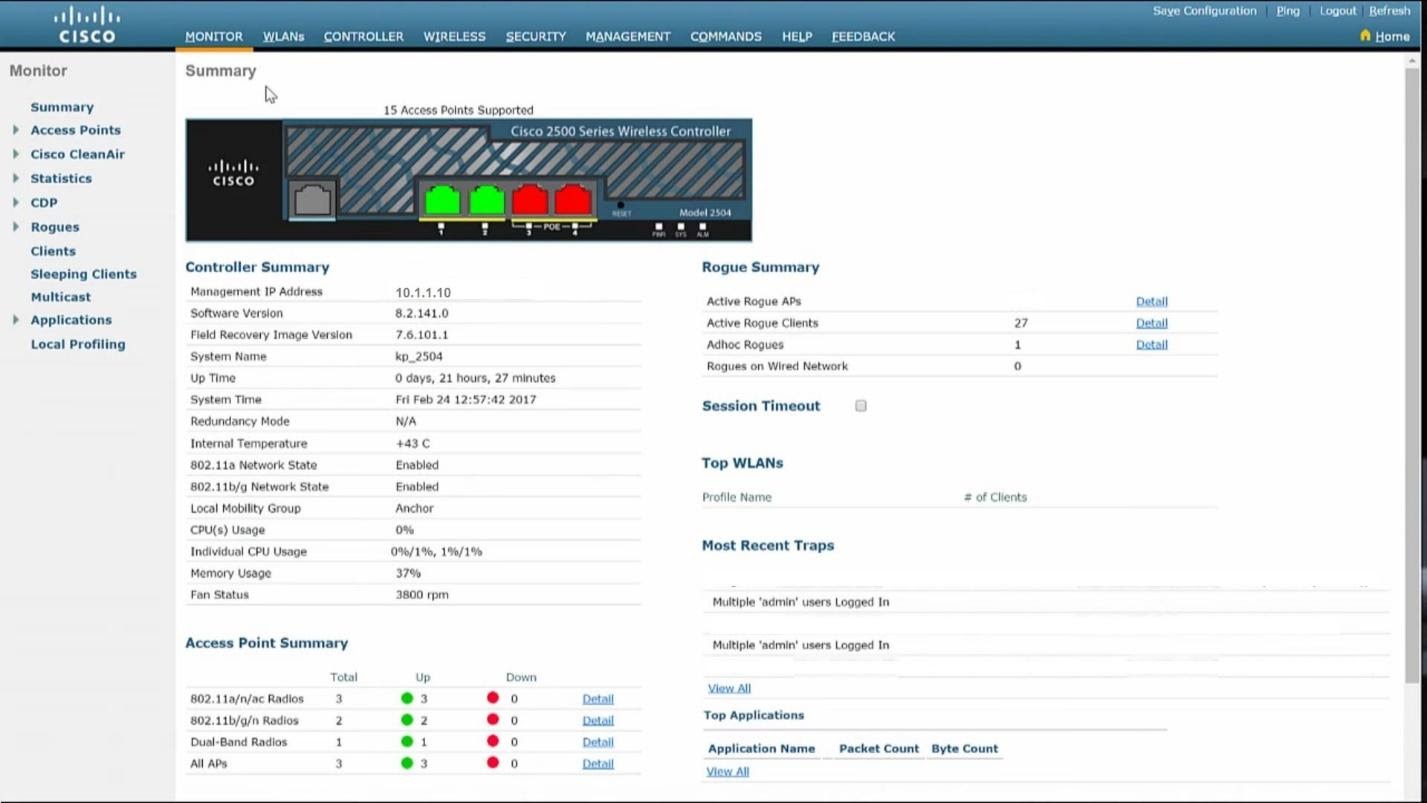
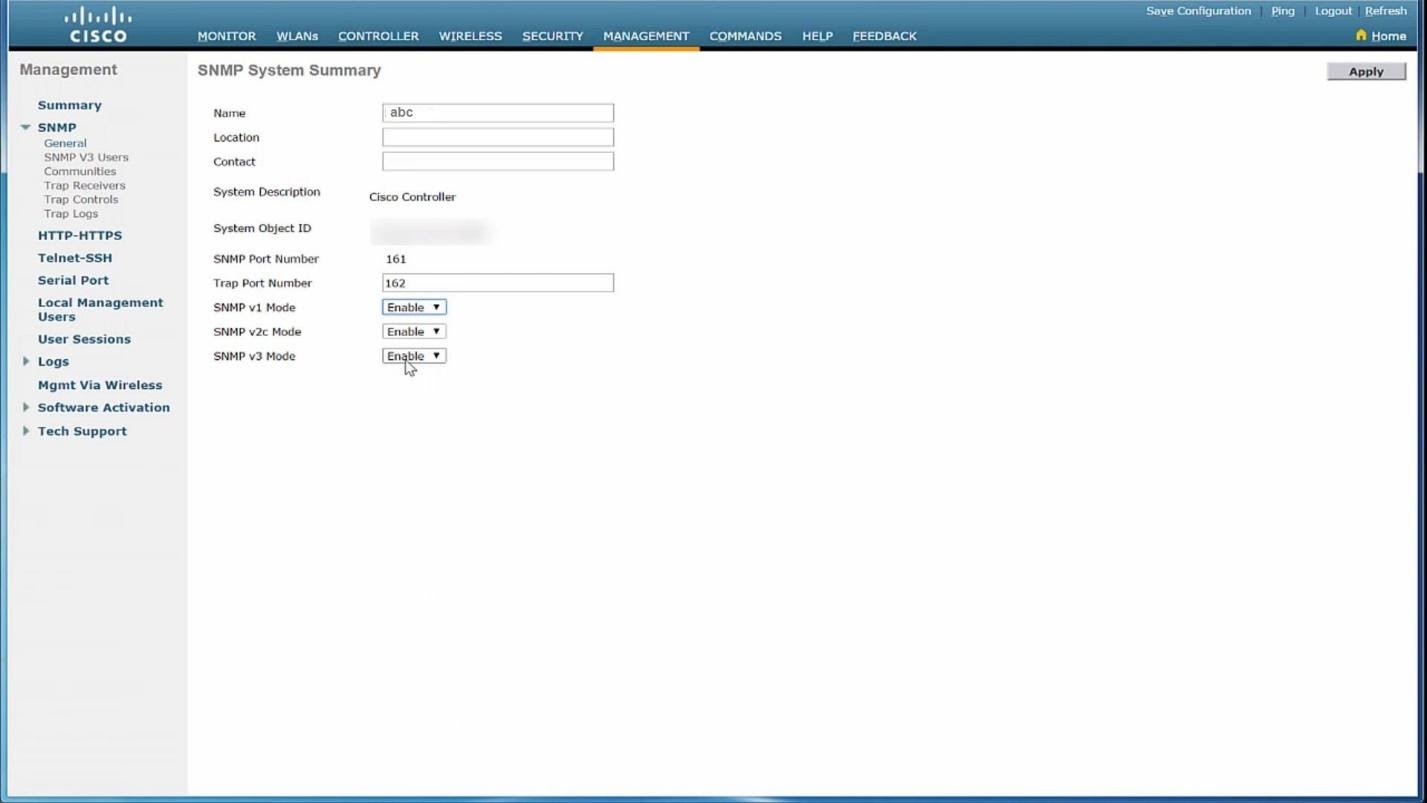
Click SNMP General Tab and configure System Summary as shown in Slide, select the SNMP version you want, and make sure that it is enabled. We are selecting SNMP v2c in this example.
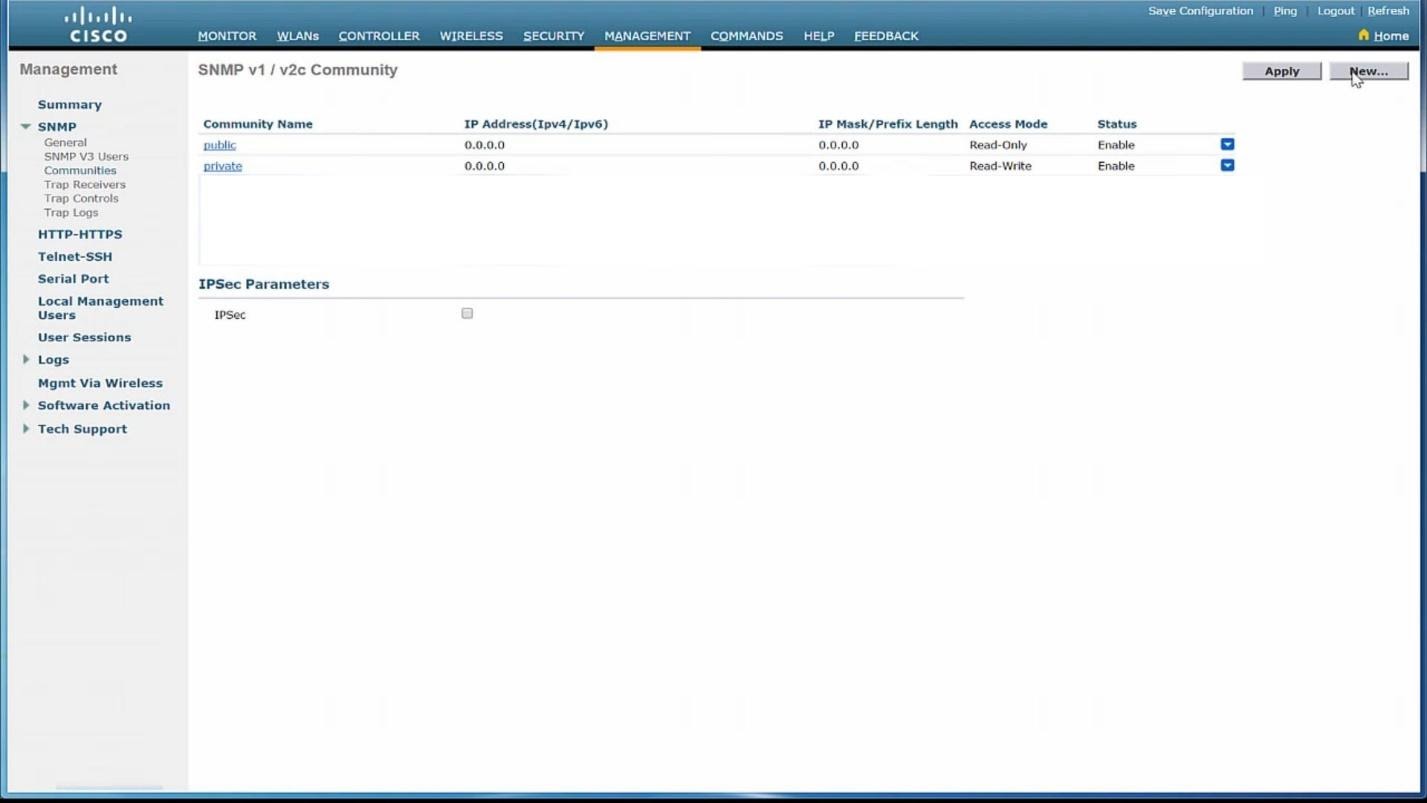
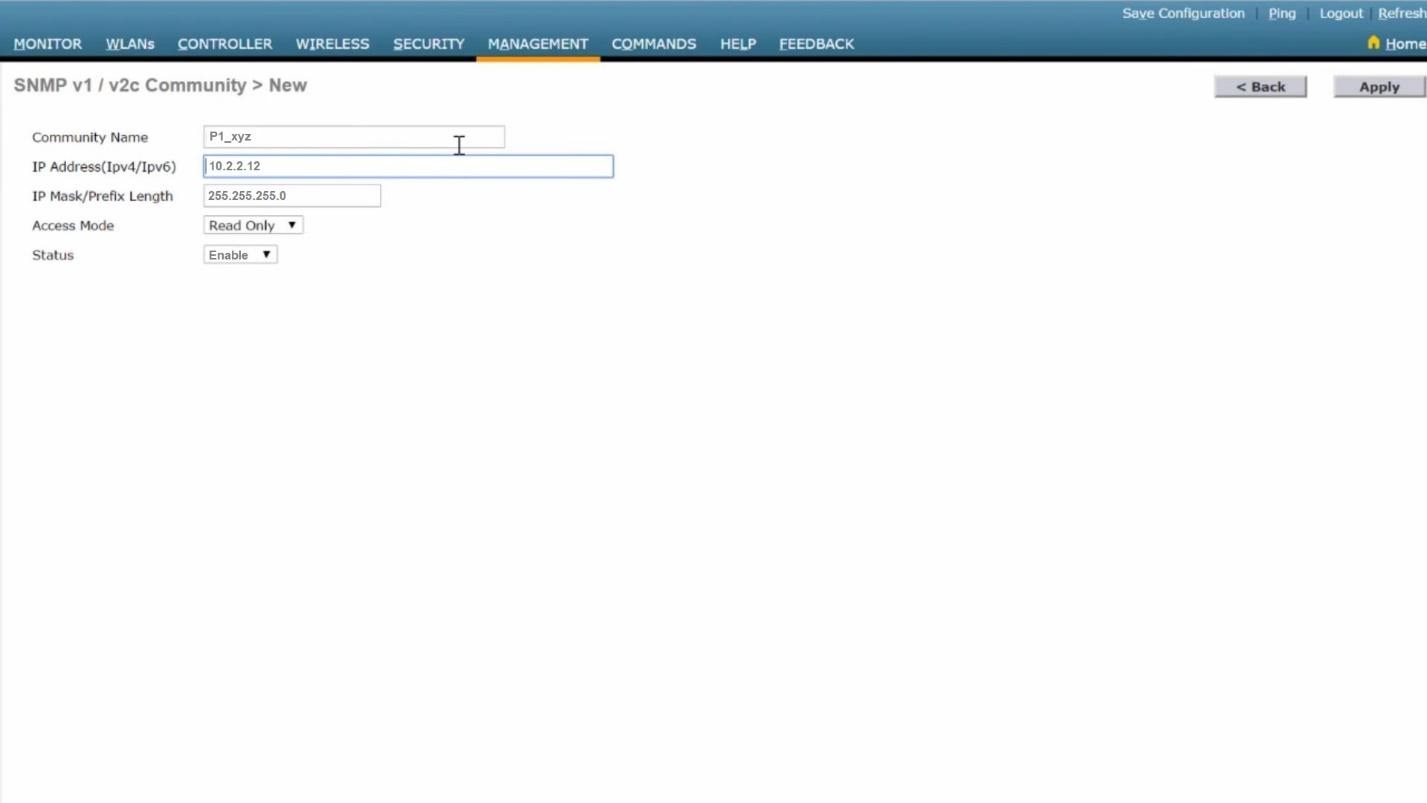
Create Community name P1_xyz in SNMP, also specify the IP address of CISCO PRIME INFRASTRUCTURE which is 10.2.2.12
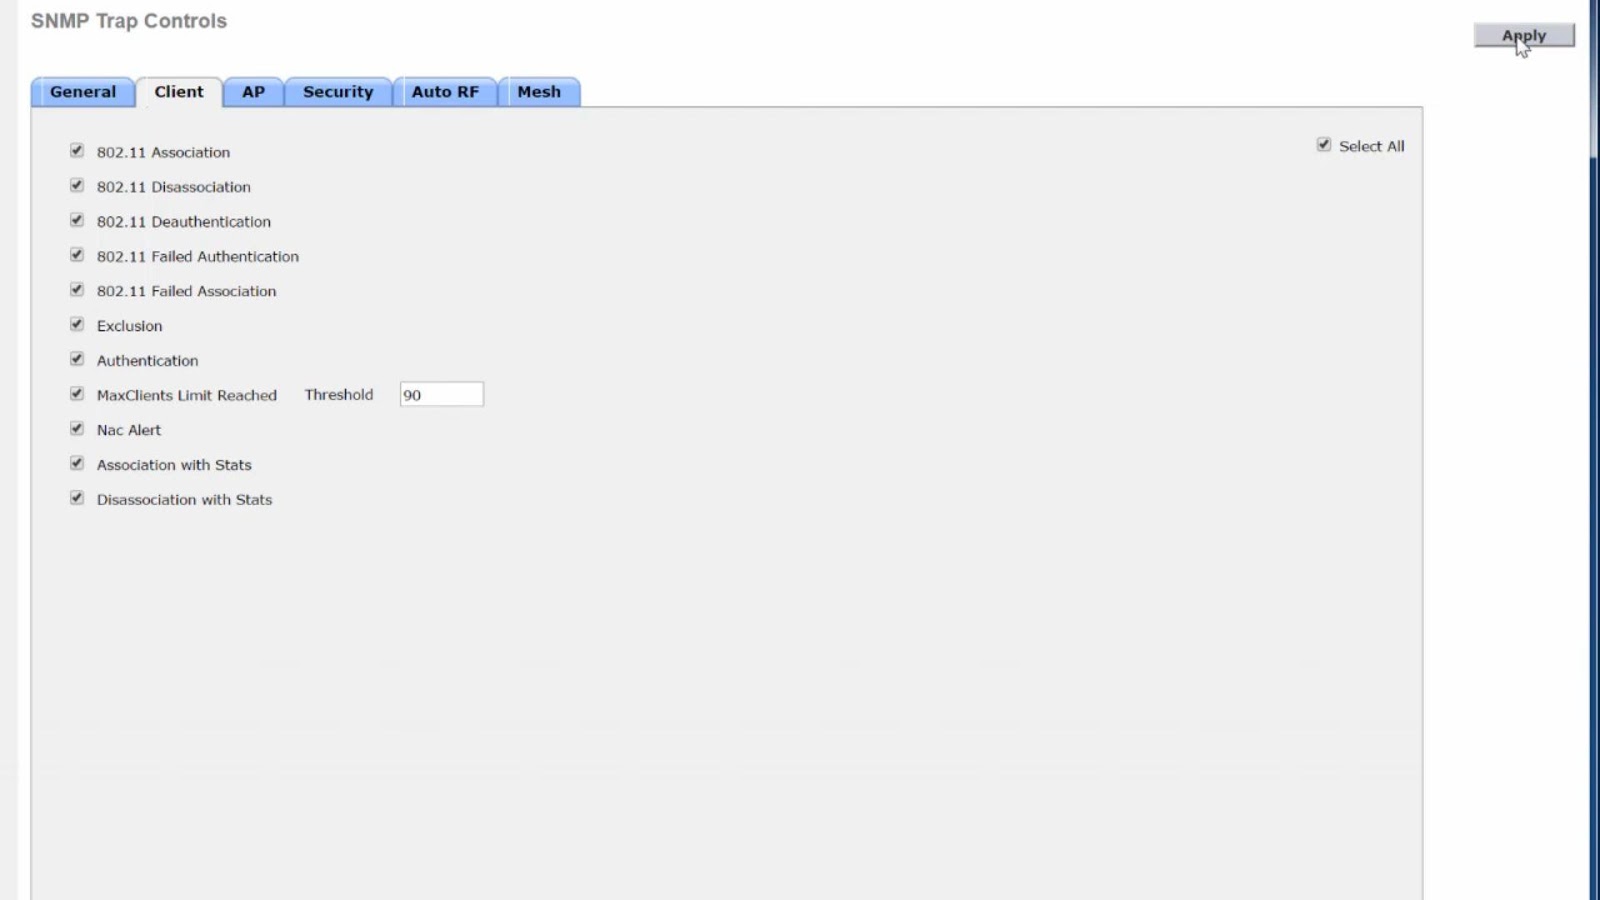
The last step in WLC is to check all SNMP Trap Controls:
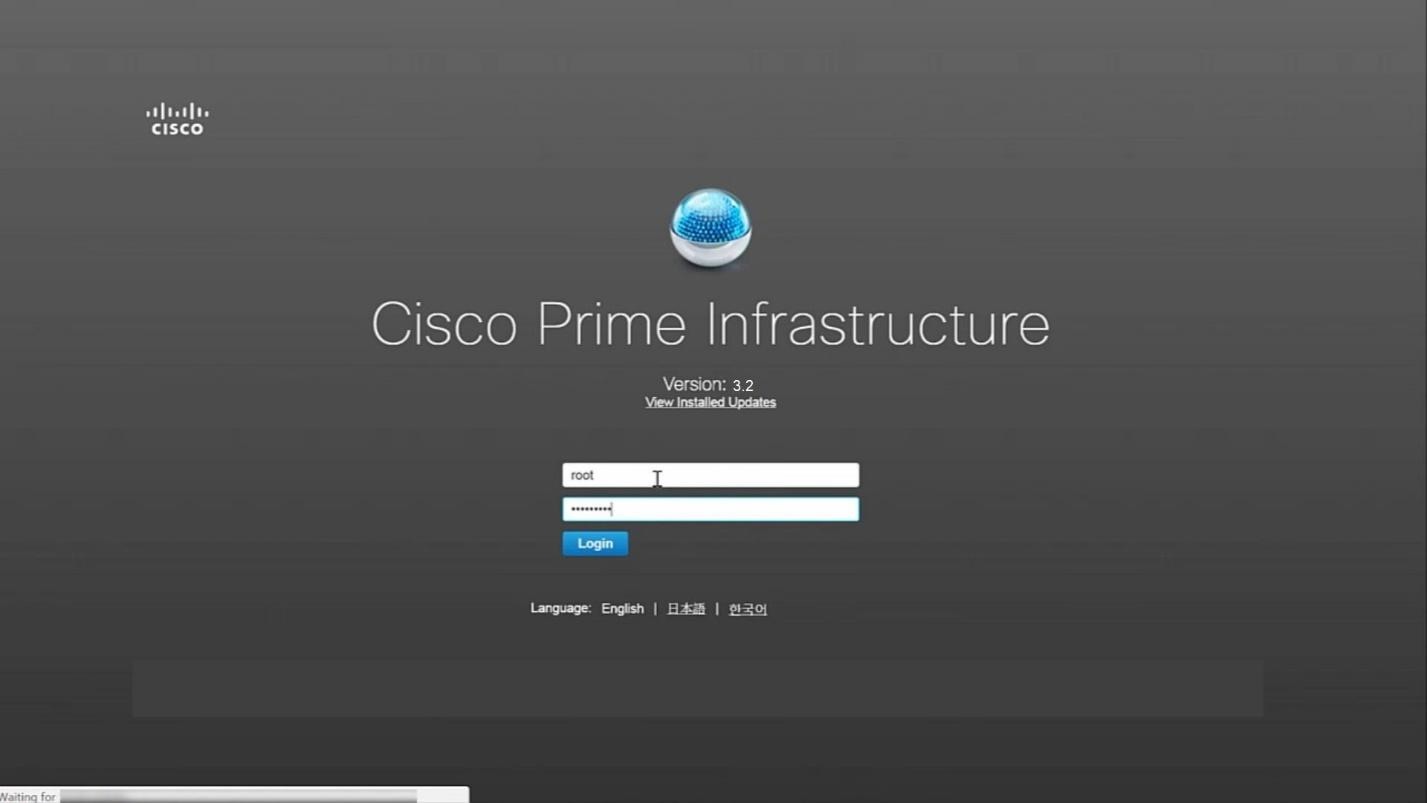
Step 1: Now we’ll have a look at how to configure Prime Infrastructure, log in with username: root and respective password.
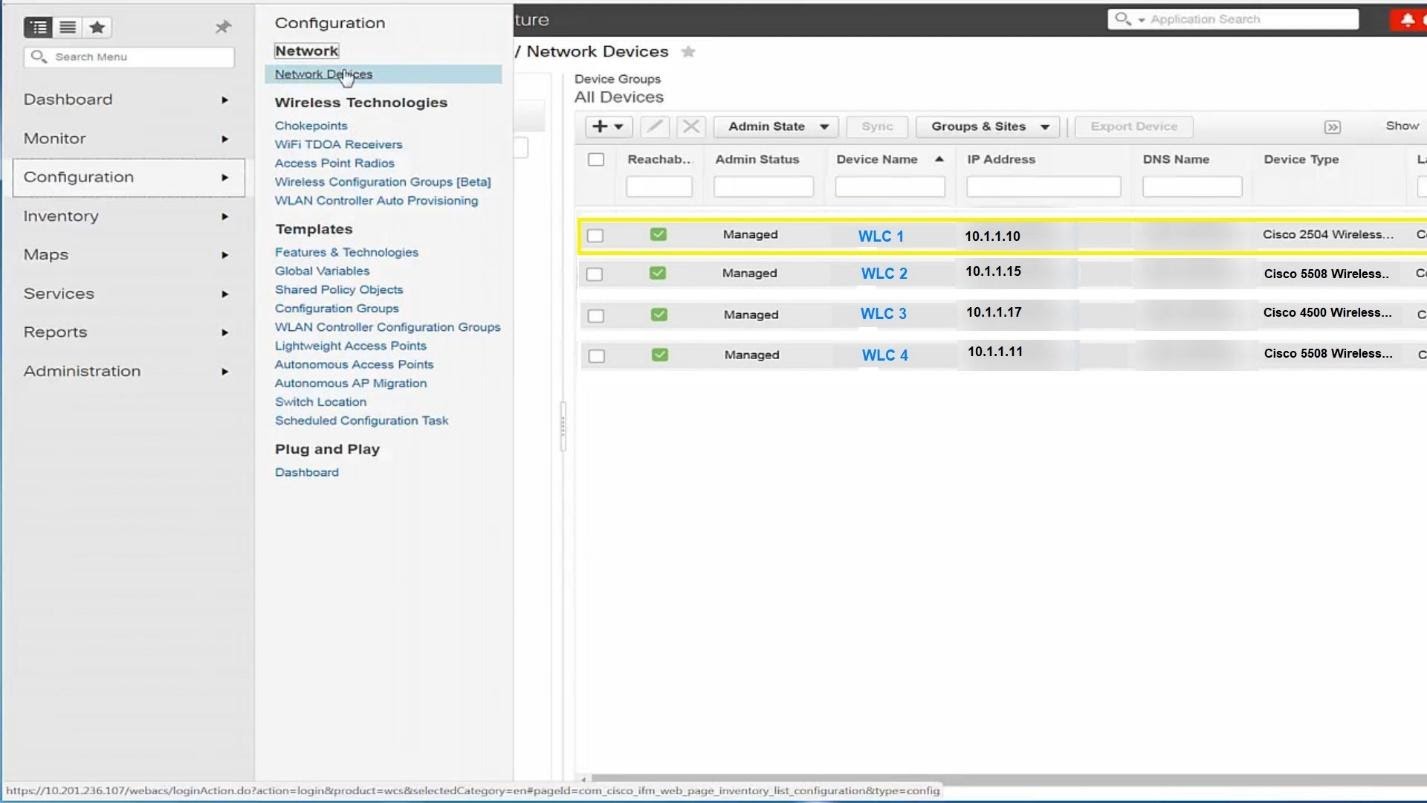
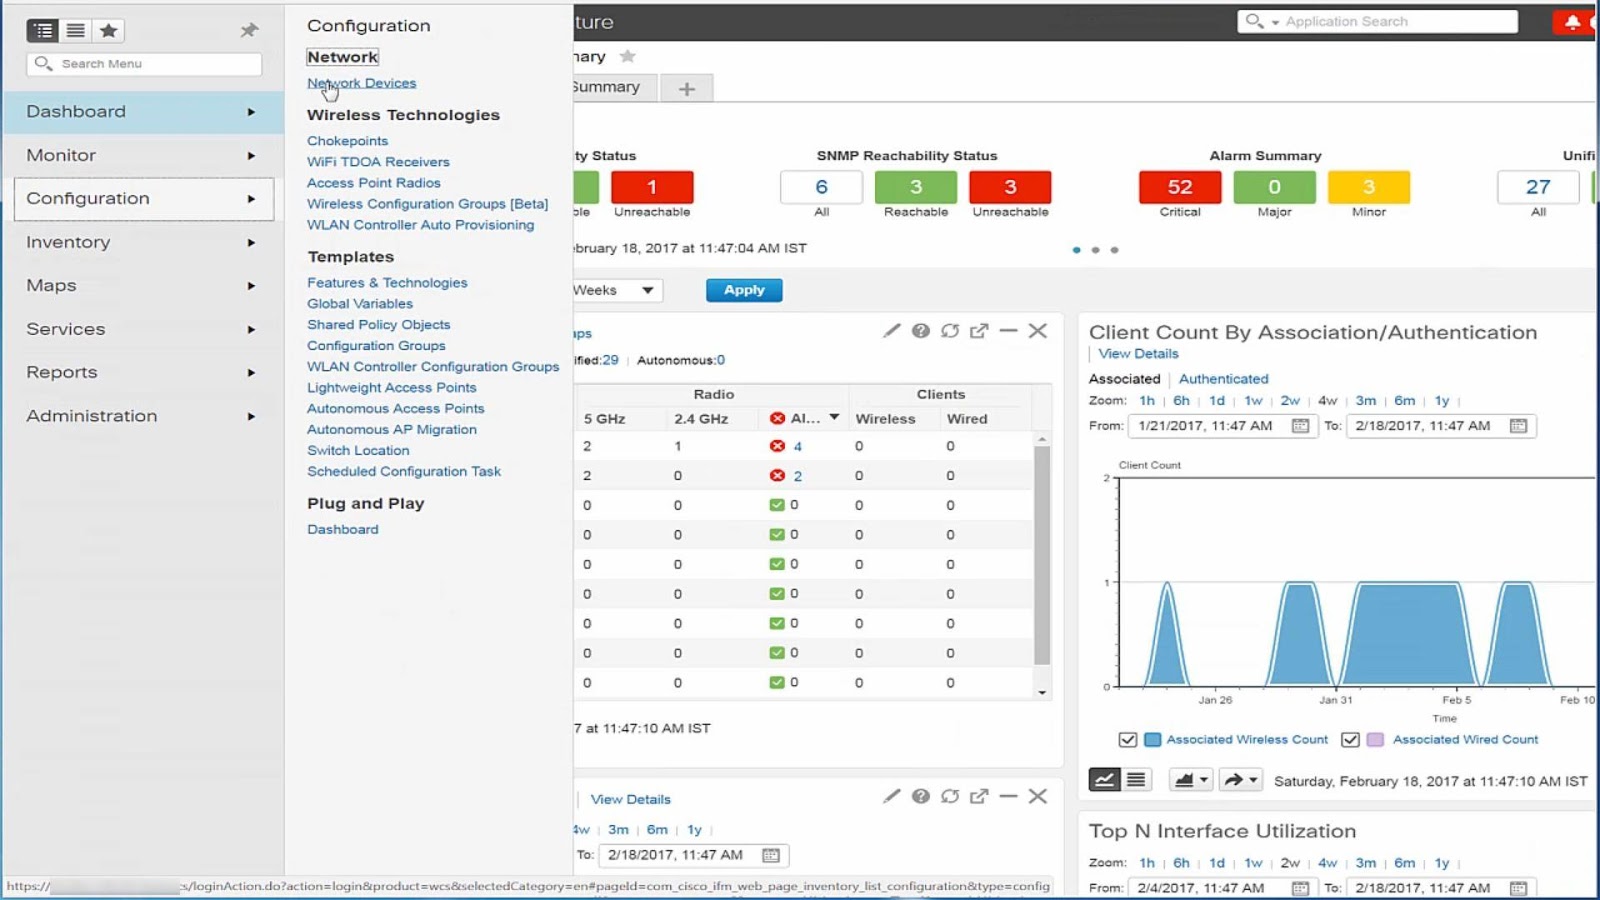
Go to CONFIGURATION —- NETWORK —– Network Devices
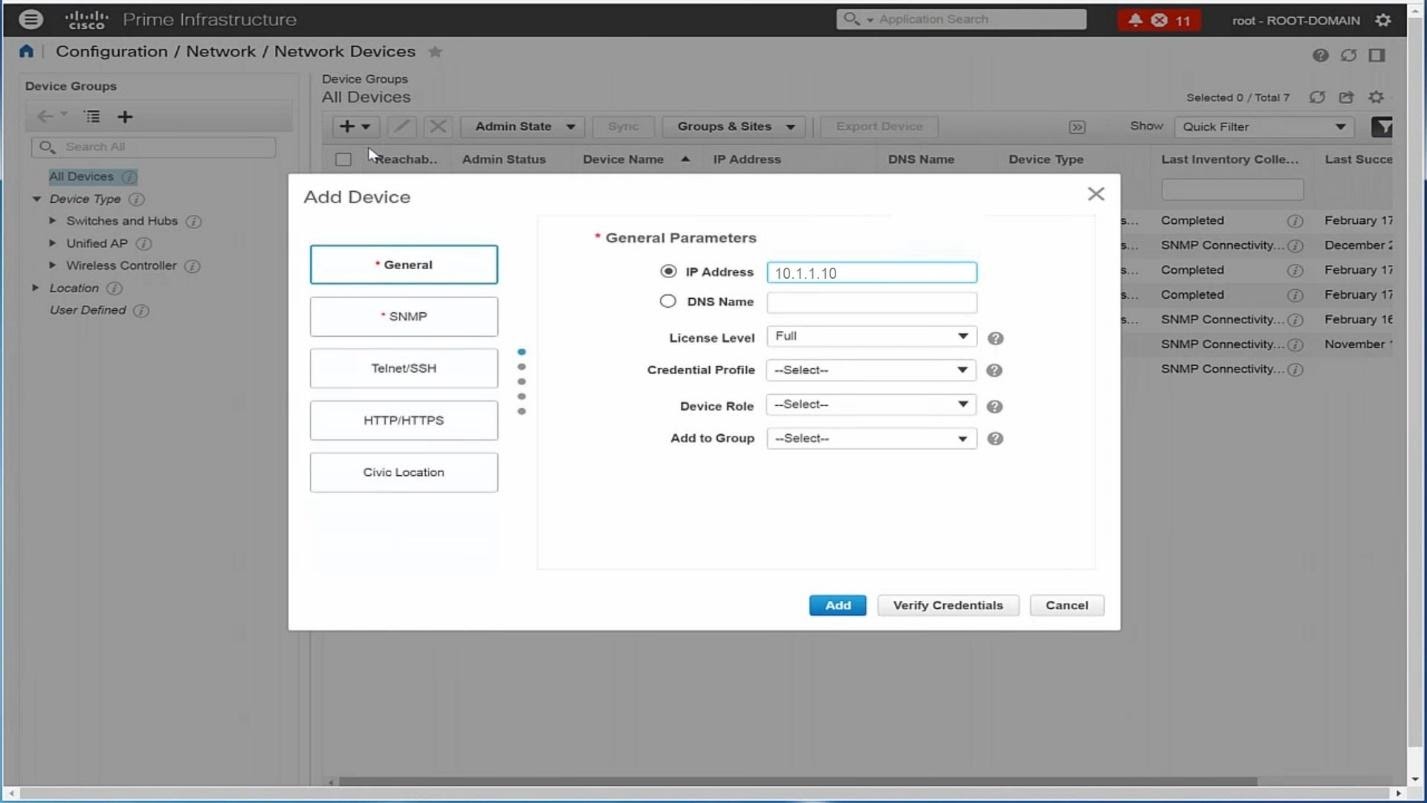
Configure General with IP address of WLC1 which is 10.1.1.10, License Level: Full
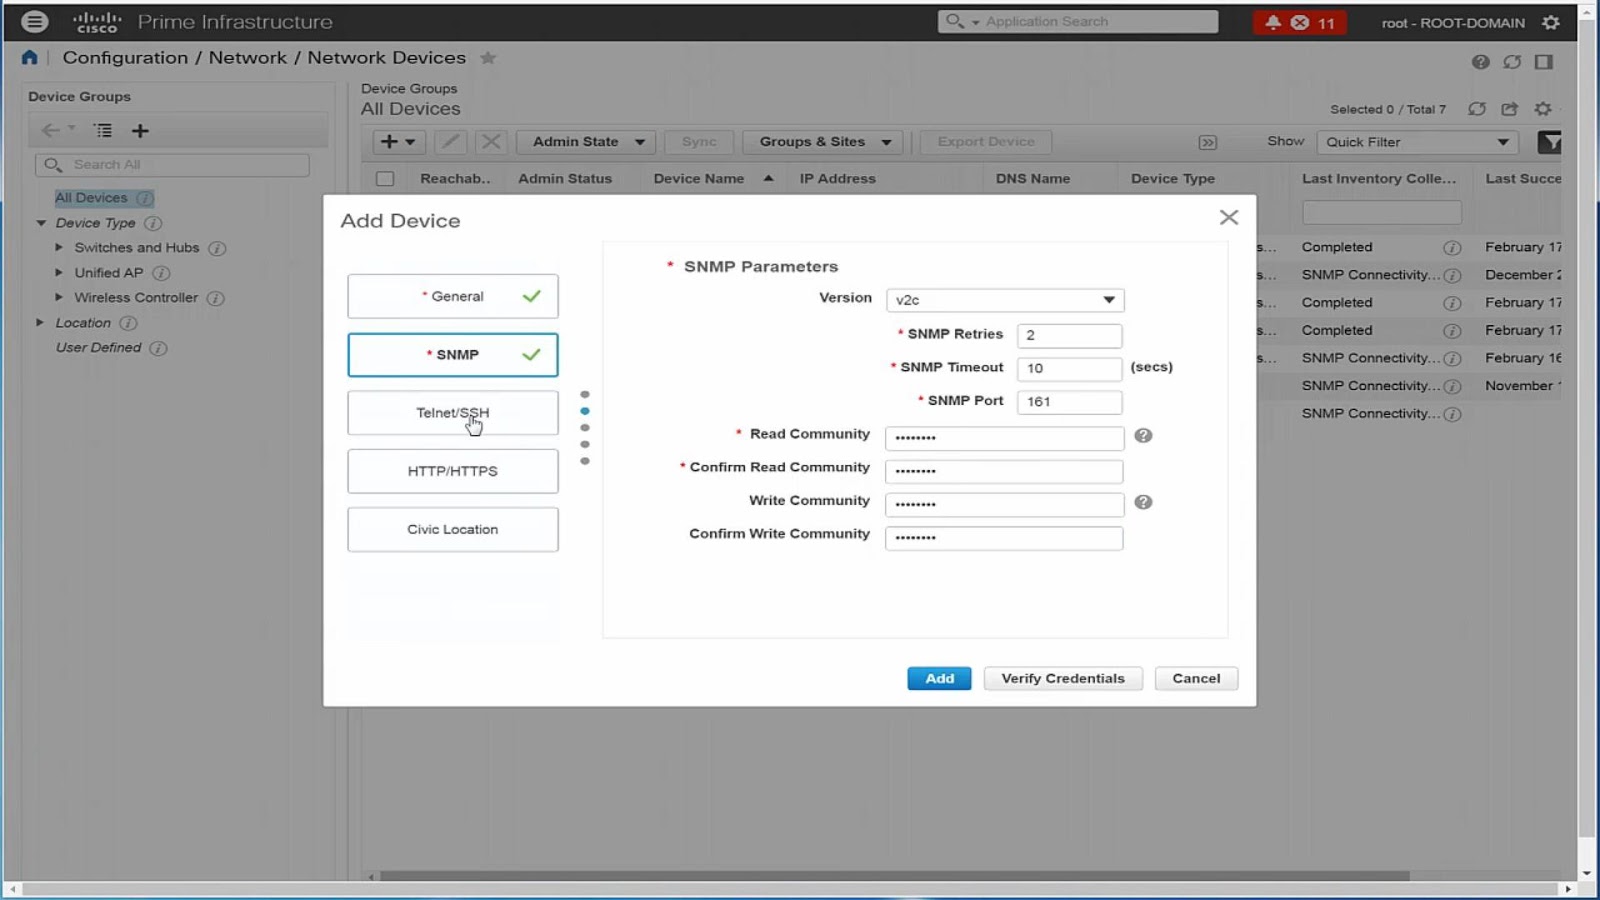
SNMP Parameters selected in WLC 1 SNMP v2c with the appropriate community string.
Configure Telnet / SSH Username and Password as per WLC configuration.
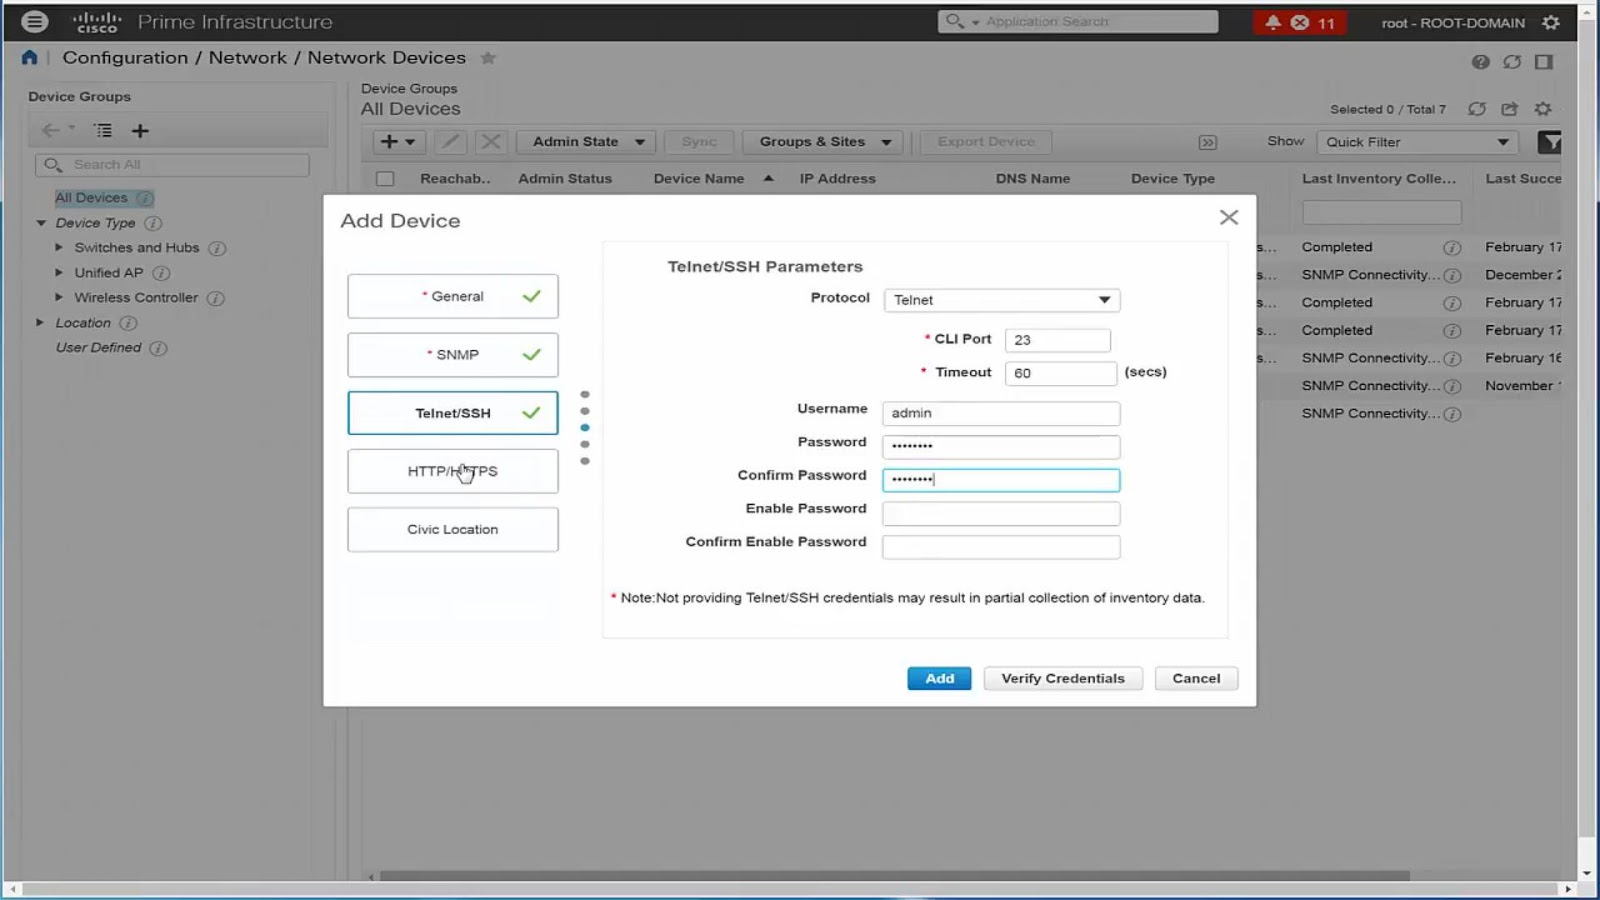
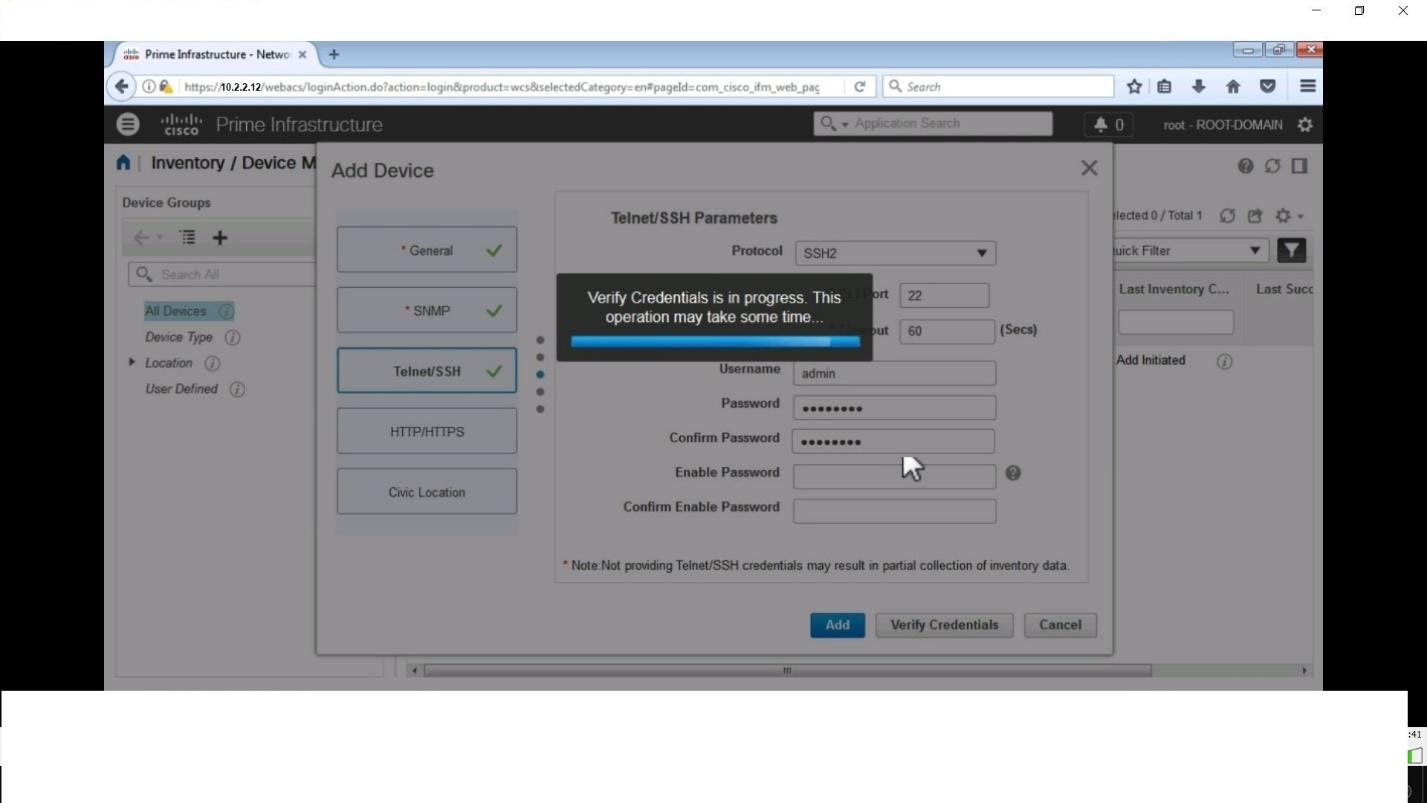
SSH Configuration and also press verify Credentials to verify.
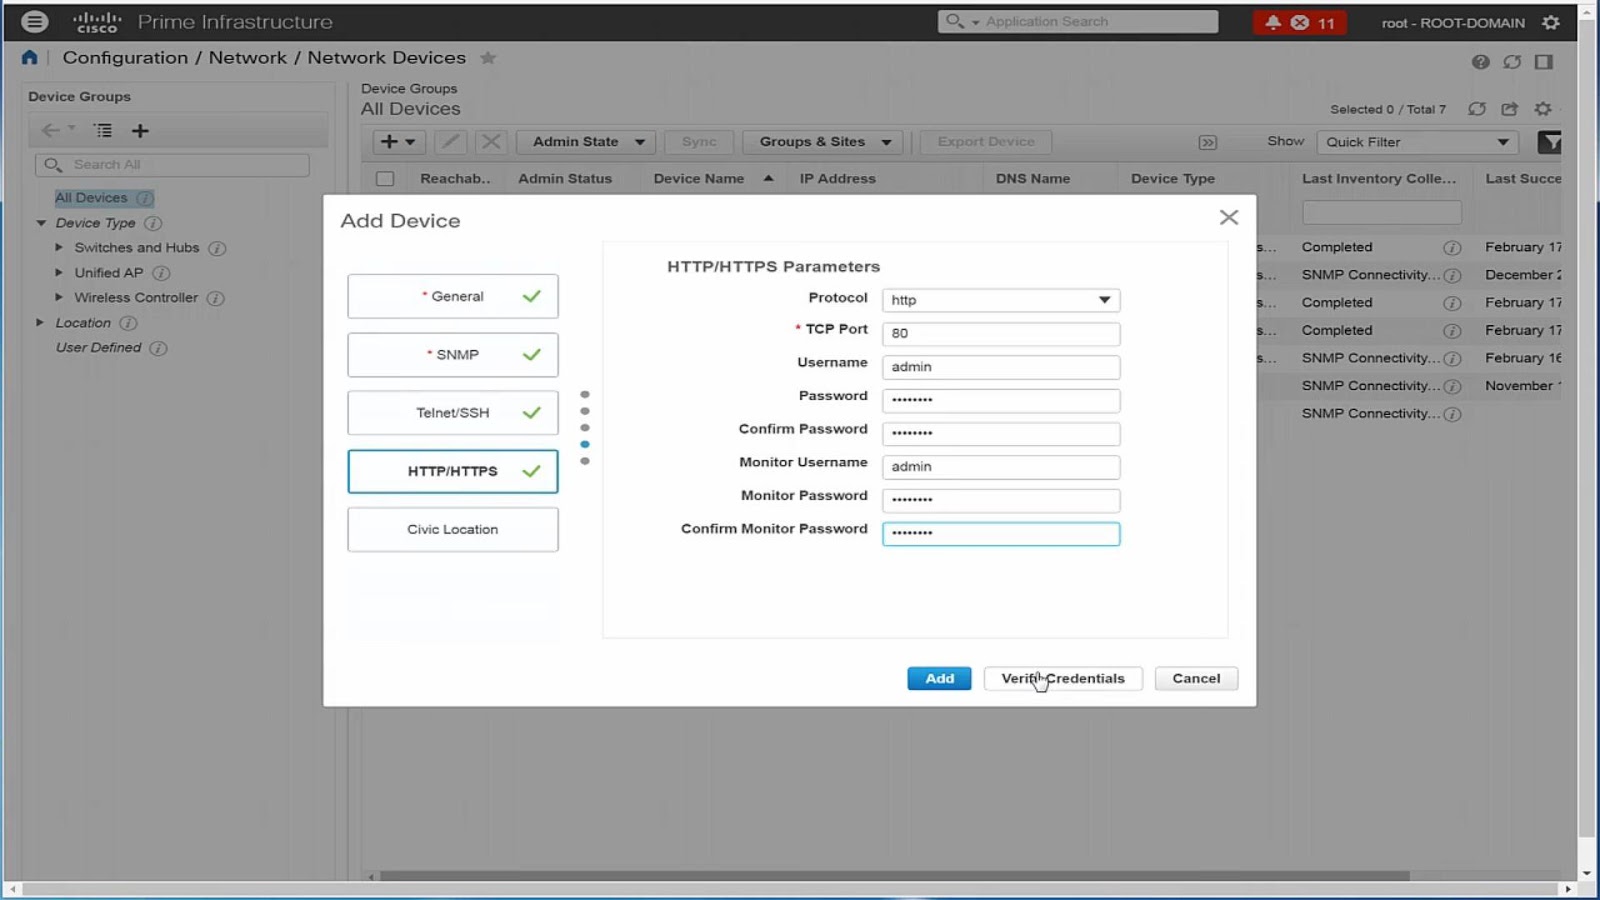
Create HTTP/HTTPS configuration:
Please note before leaving this window check In “Last Inventory Coll..” you should see completed
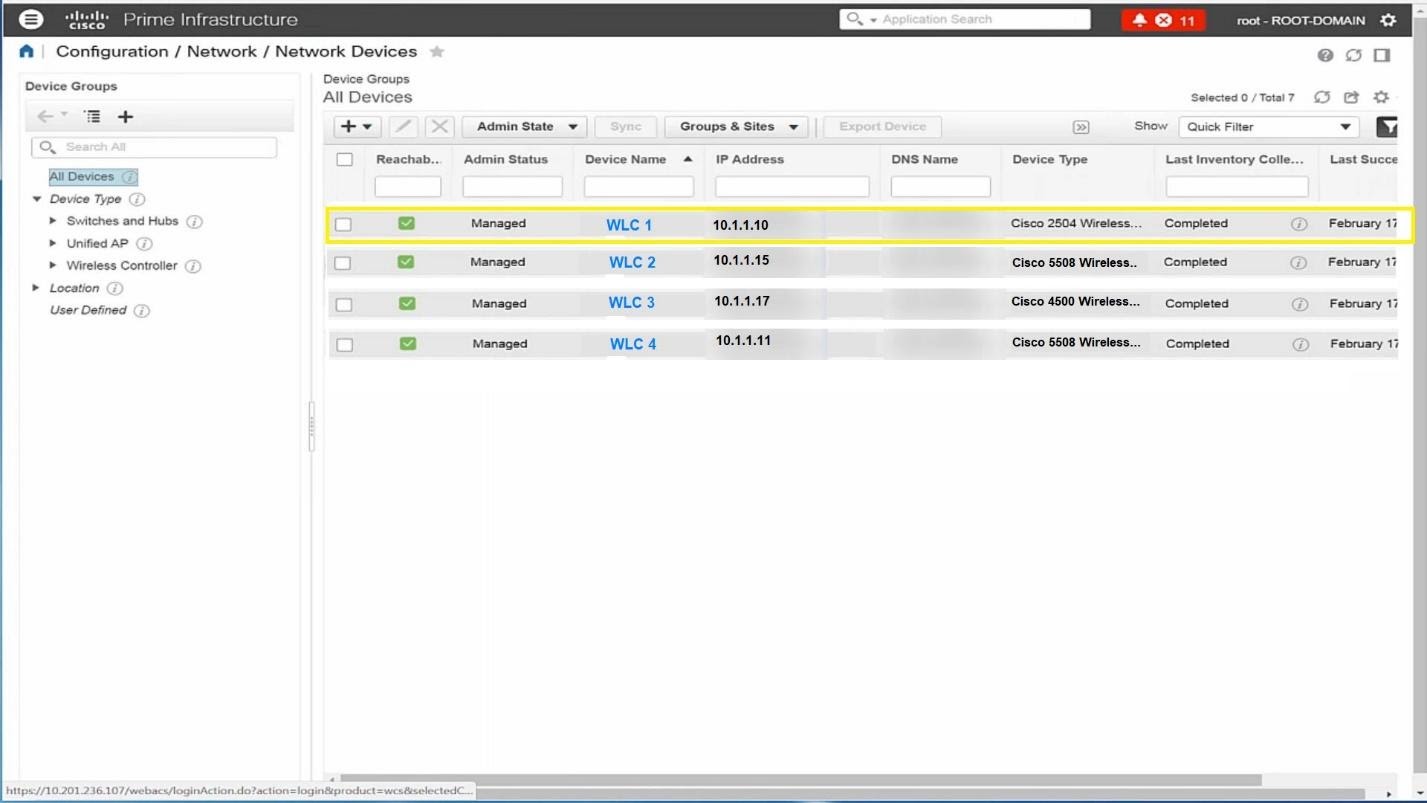
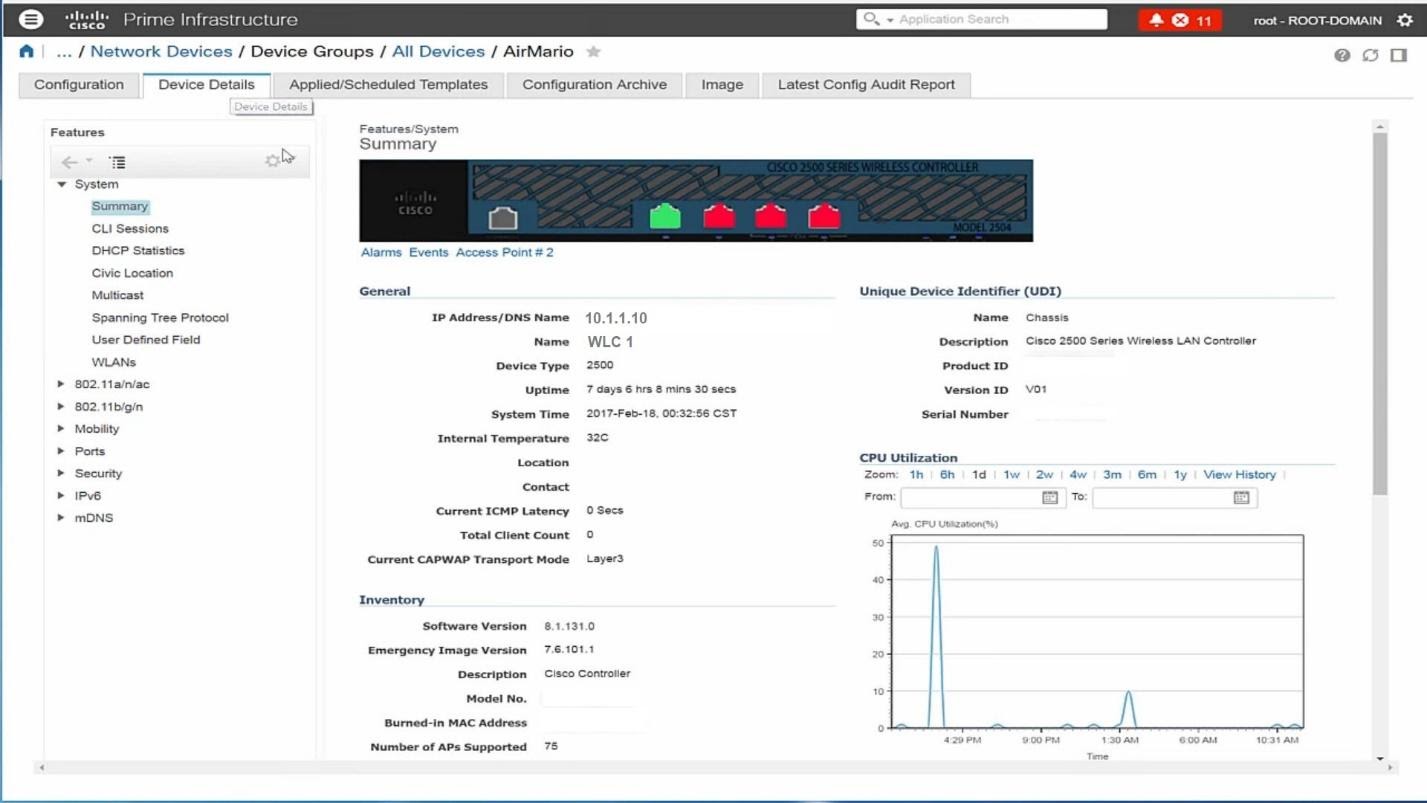
Go to CONFIGURATION —- Network — Network Devices and check if WLC1 is
registered or not. Click on the WLC1 and you will see